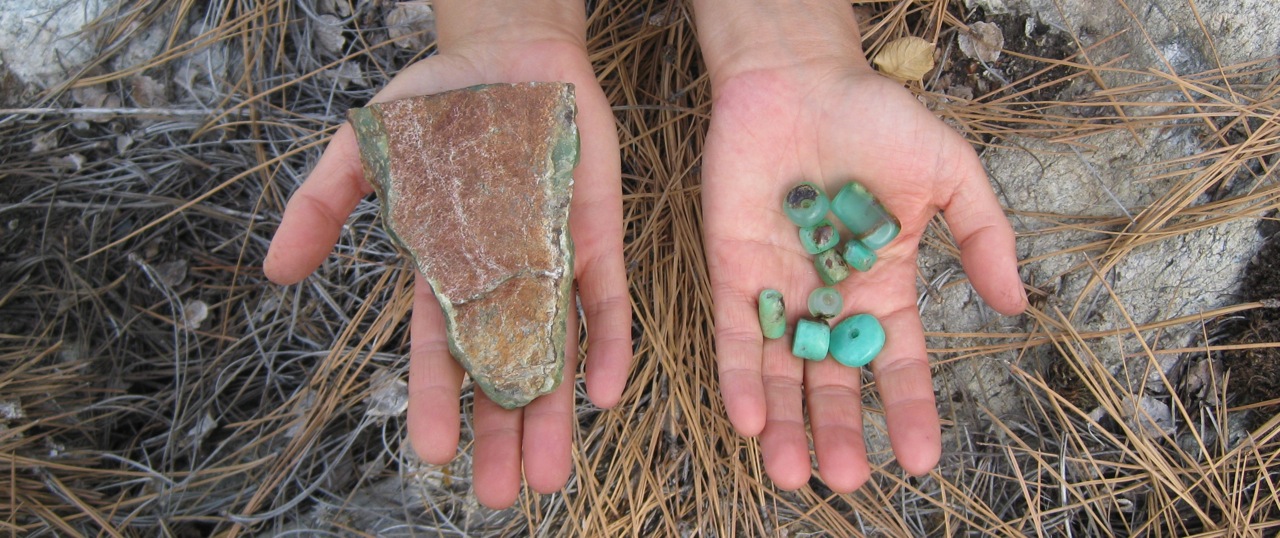
This is how I do it: First I start with raw rock, very little of which I just pick up off the ground…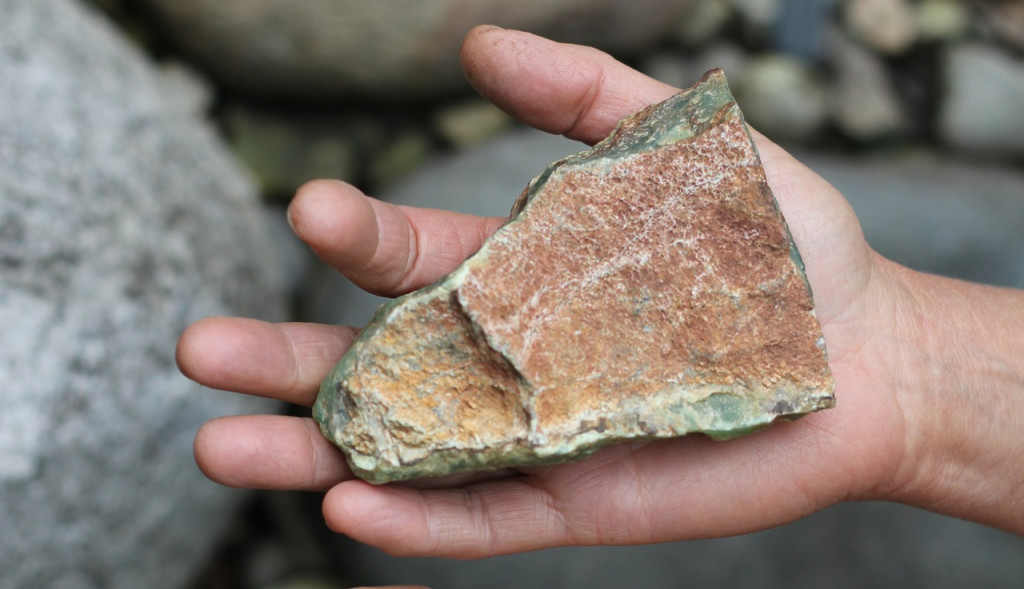
Most of my rock comes from the annual gem show in Quartzite, Arizona, where I migrate to in the winter and hand select the stones I will work up in the coming year. This is a vast outdoor gem show where you can find stones and (eccentric) people from all over the world (rock people are generally pretty weird).
Before I work with the stones they go through a process where I balance and cleanse them. This is a stage I consider imperative for the stones to embody their natural attributes and vitality, so they might truly assist you. All minerals have been heavily mined around our globe, leaving what are essentially energetic holes in the planets grid. Thus, this cleansing process involves a balancing and recharging of these minerals directed to their earthen source, which thereby imbues the final beads and pendants with the energy they were originally intended to carry.
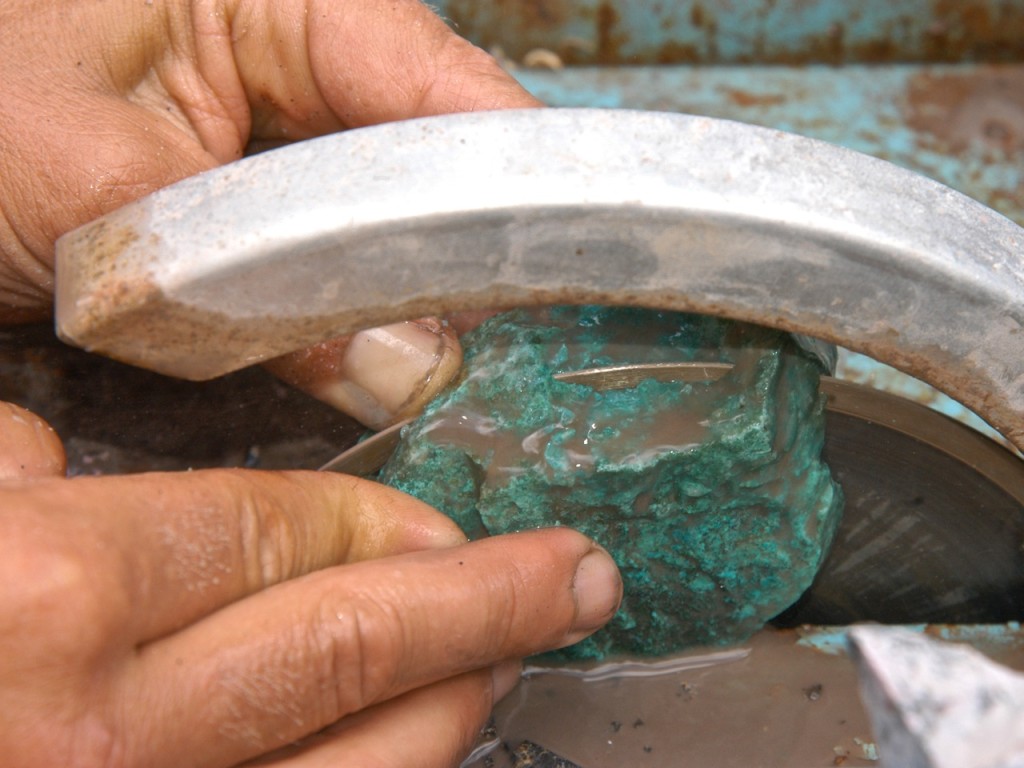 STEP 1) Using a diamond coated saw blade and lots of water, the rock is first cut into slabs. At this stage, with the thickness of the slabs I am also determining how thick my beads and pendants will be.
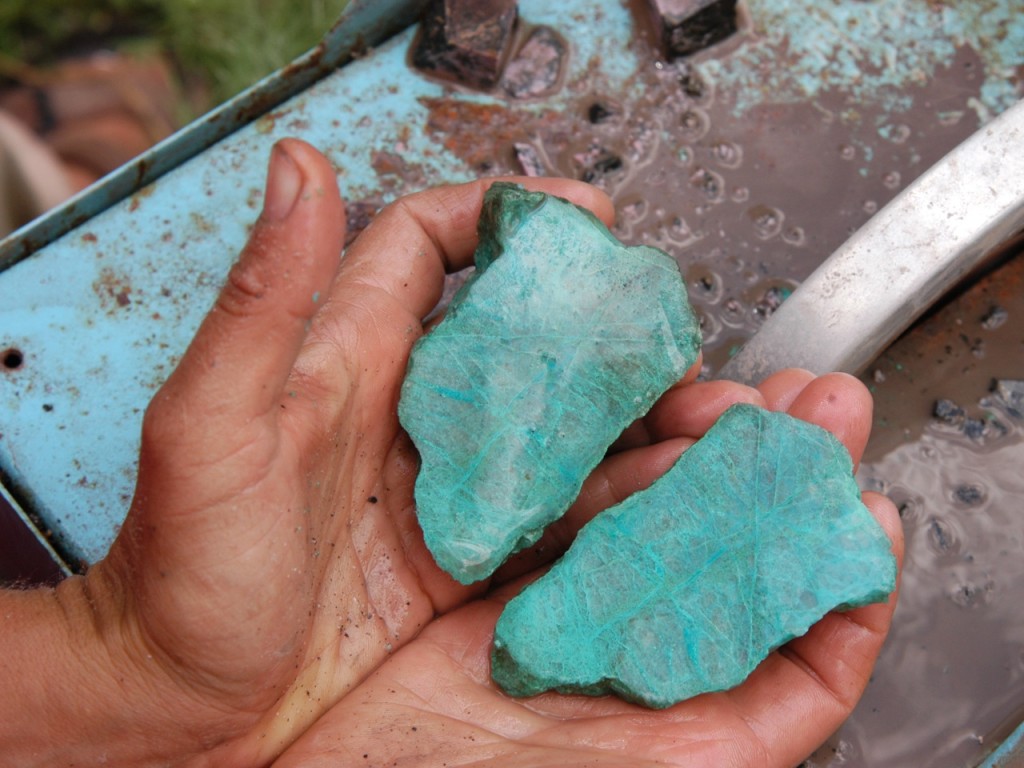 That would be a slab (two actually).
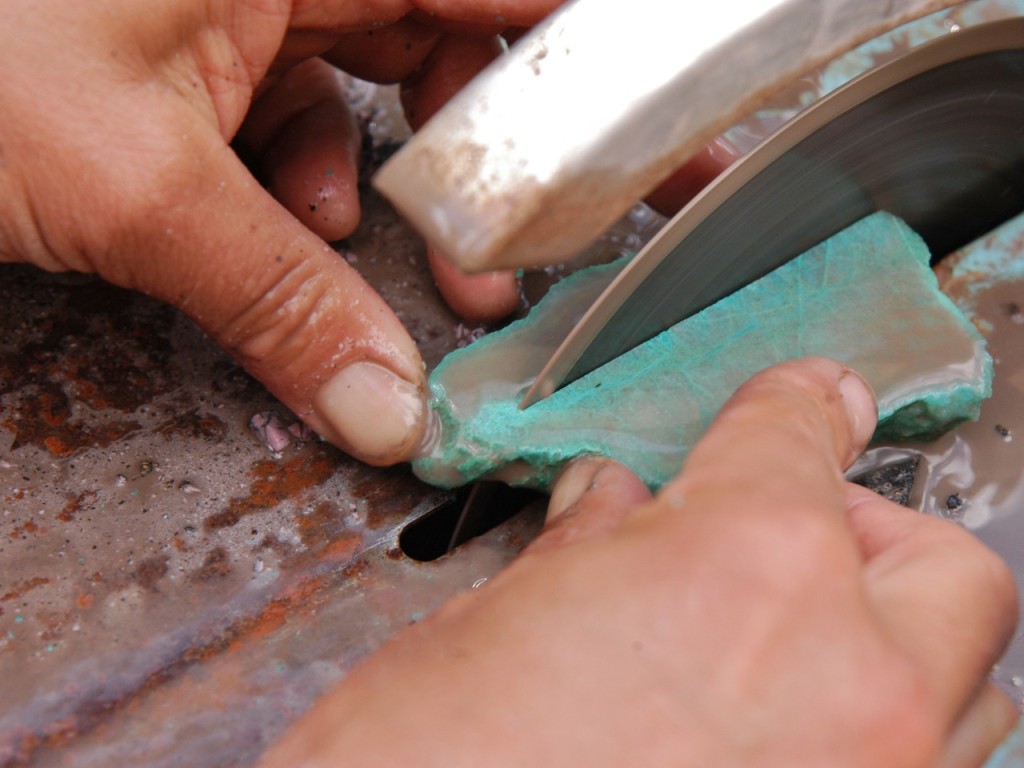 STEP 2) The slabs are then cut into long rectangles.
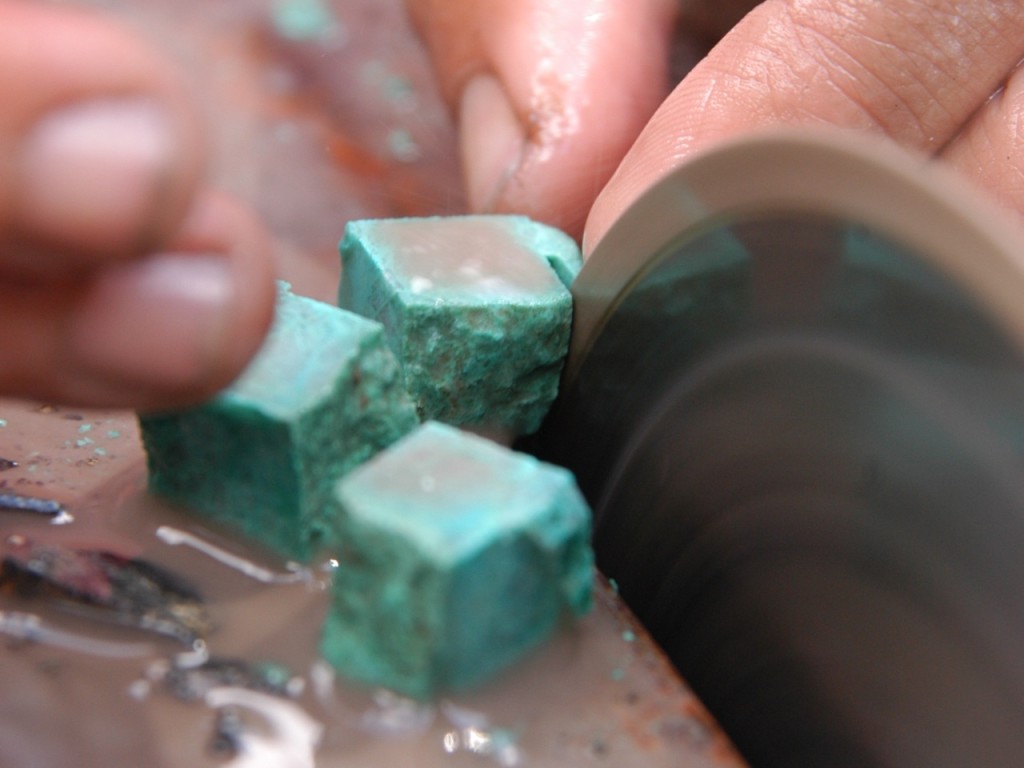
STEP 3) Long rectangles are cut into a number of squares.
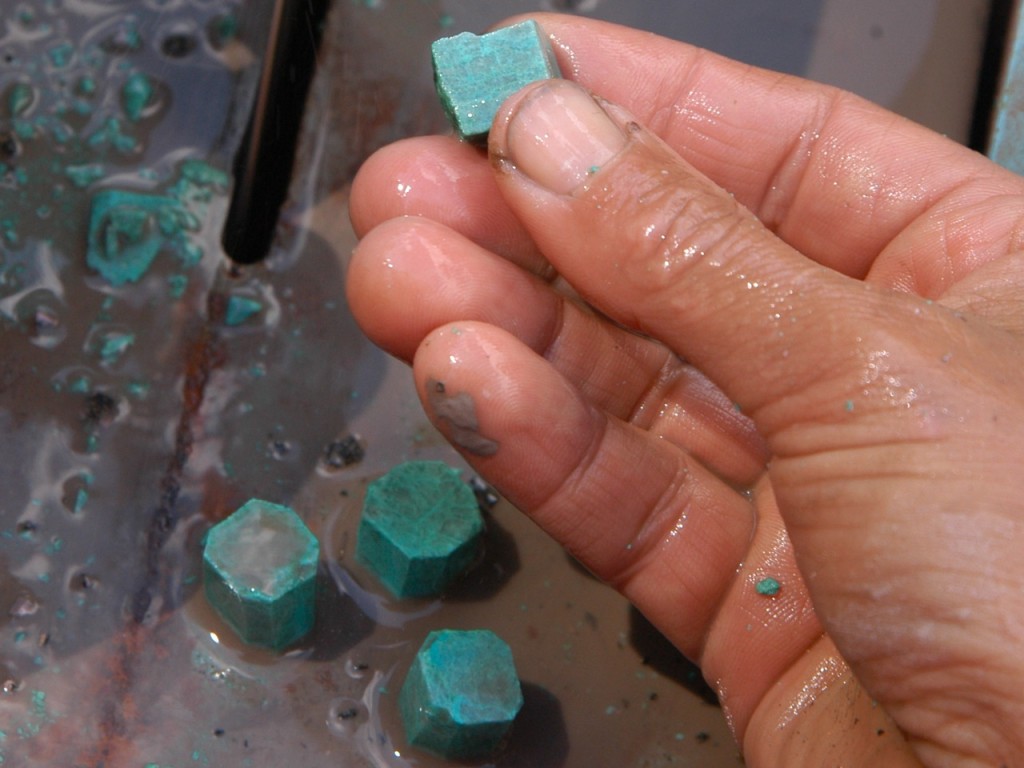
STEP 4) Here you can see the bead begin to take shape: as the corners are cut off the squares they roughly start to resemble a bead.
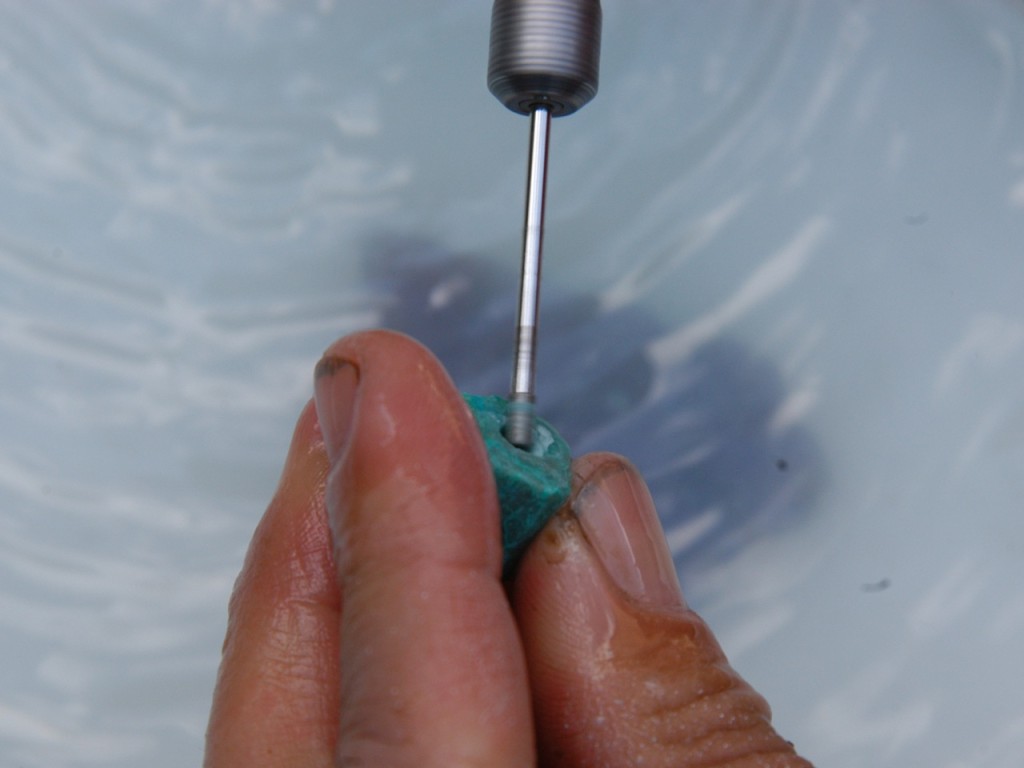 STEP 5) Now I drill a hole in the bead (hopefully that and not my fingers). It’s a bit of a challenge, trying to create a small hole by braille using a nasty and wildly spinning diamond coated drill bit. This process is done with both the bead and bit submerged under water.
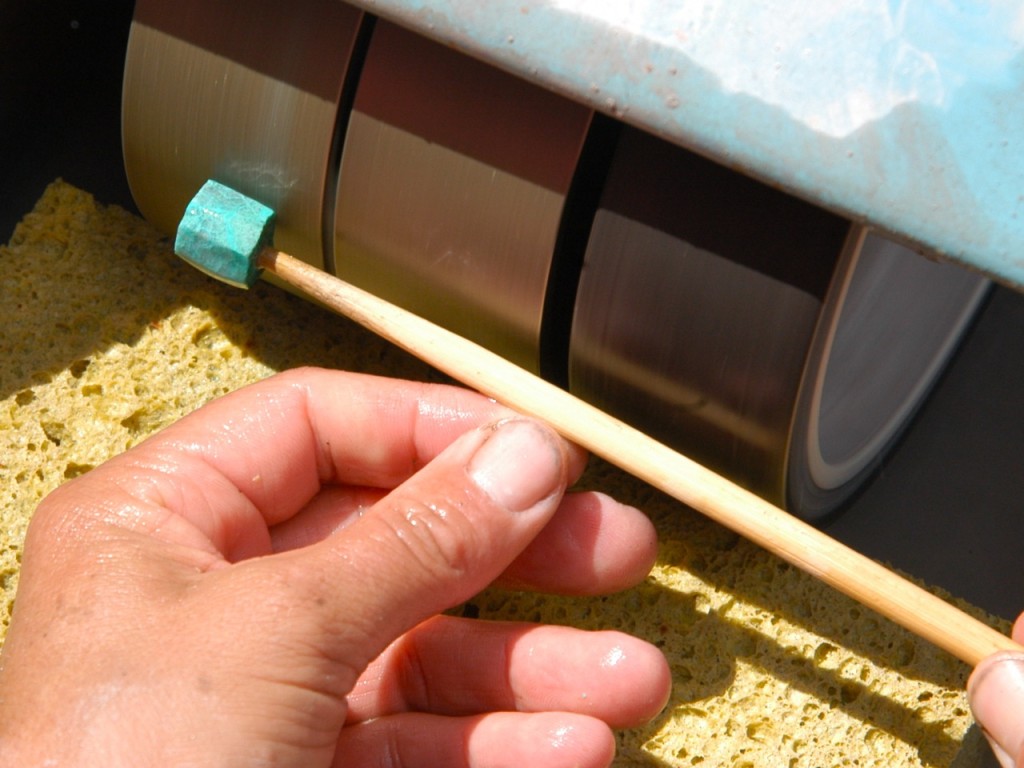
STEP 6) I poke a chopstick into the freshly made hole and begin to shape the bead by turning it on the first diamond coated wheel.
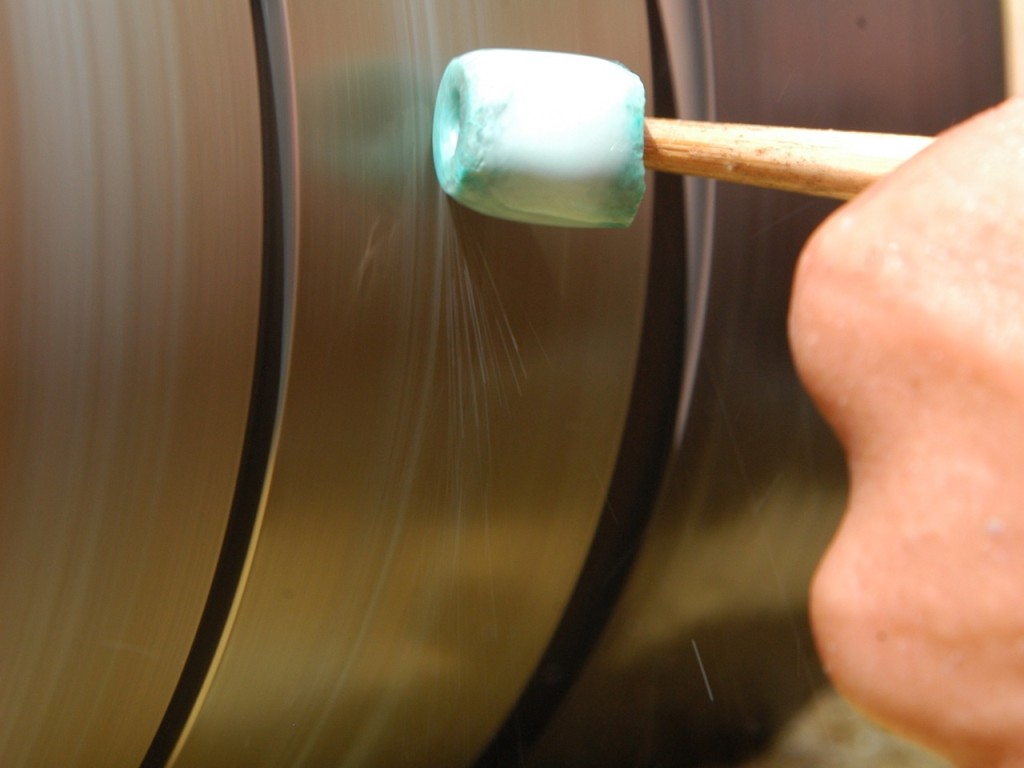
STEP 6) The second diamond coated wheel starts to smooth the bead quite nicely.
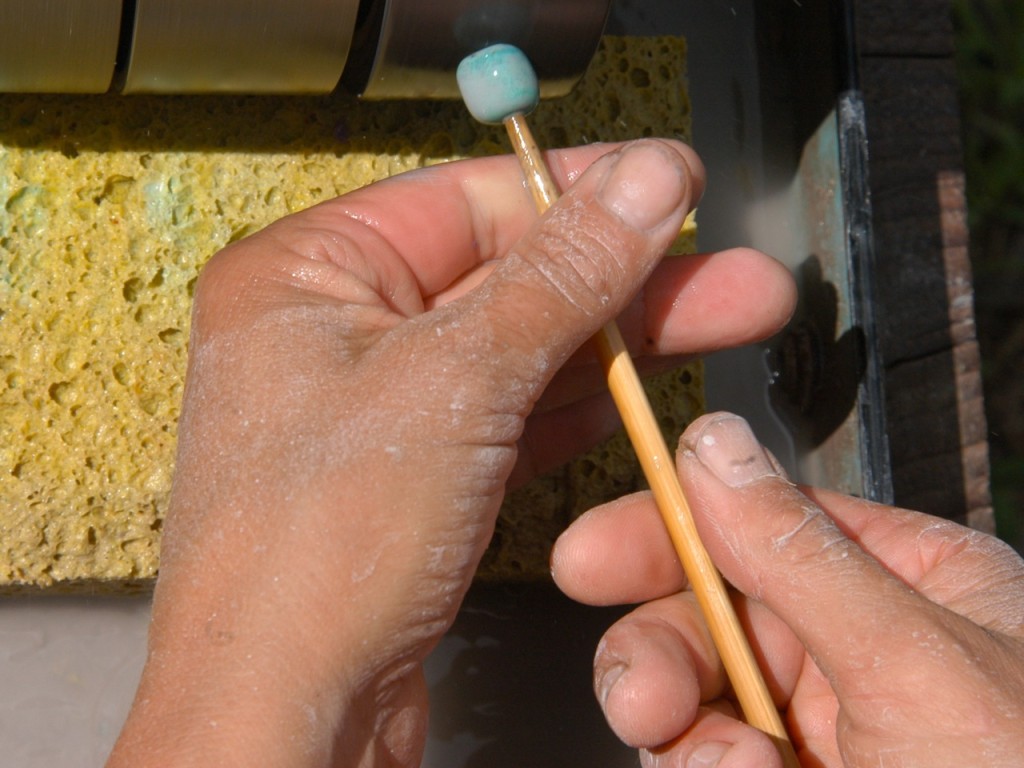 STEP 7) The last step. I use a diamond coated rubber wheel for the final smoothing and polishing.
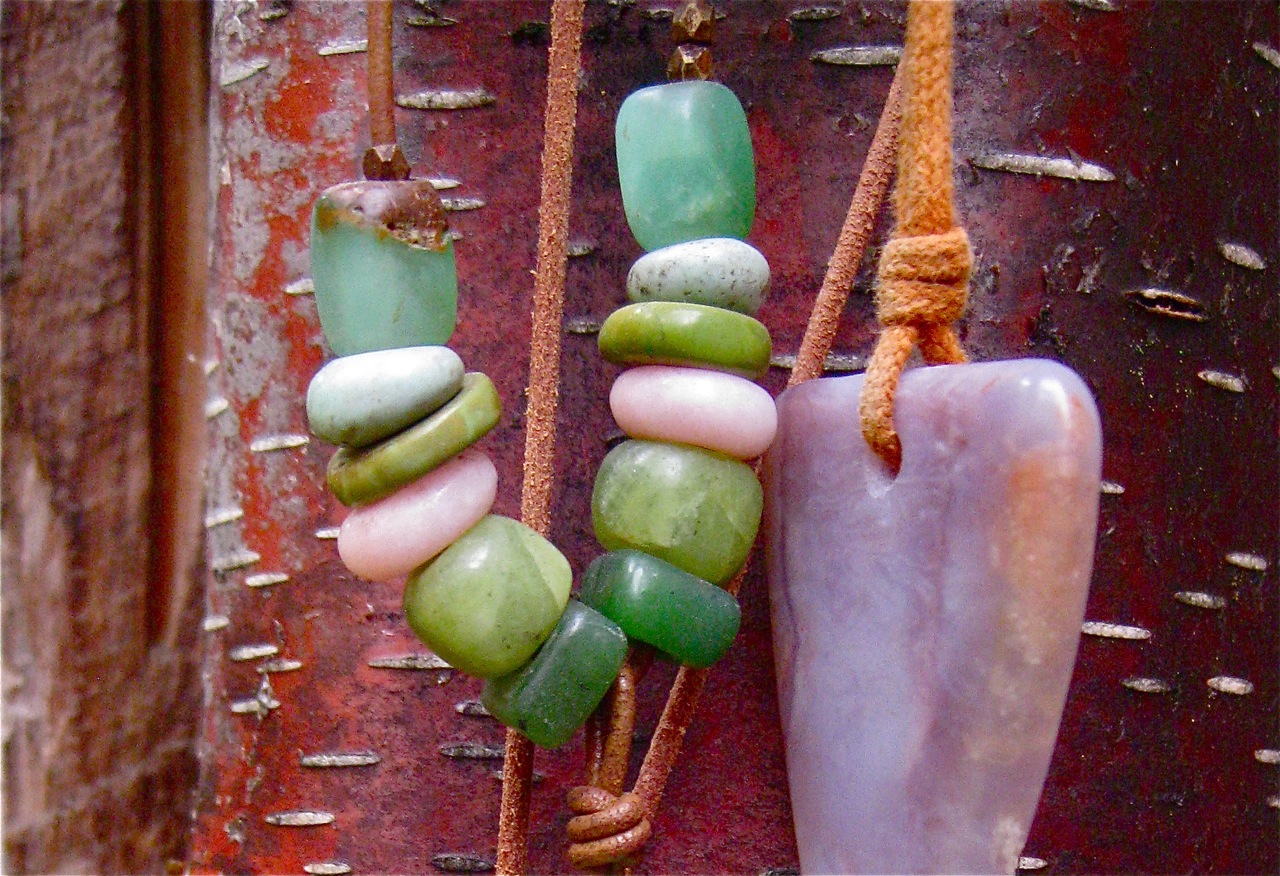
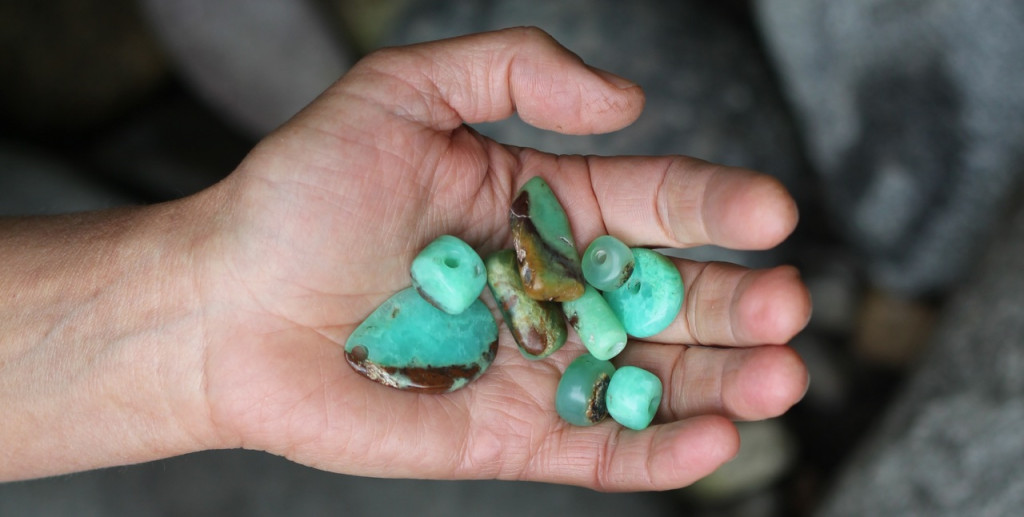
My beads are complete at the end of this process. I used to tumble them for several days in a vibrating rock tumbler that also artificially polished them with a tin oxide polish (which coats every conventionally worked stone bead you will ever purchase). The stones told me they didn’t care for that much and that the tin oxide was toxic -for everybody- and clogged their pores making it difficult for them to do their healing work. Duh. Appropriately reformed, I’ve eliminated the tumbling/oxide process.
